Contents
For installers
General installation tips
Mounting with the Backbox
Mounting with the VESA bracket
For users
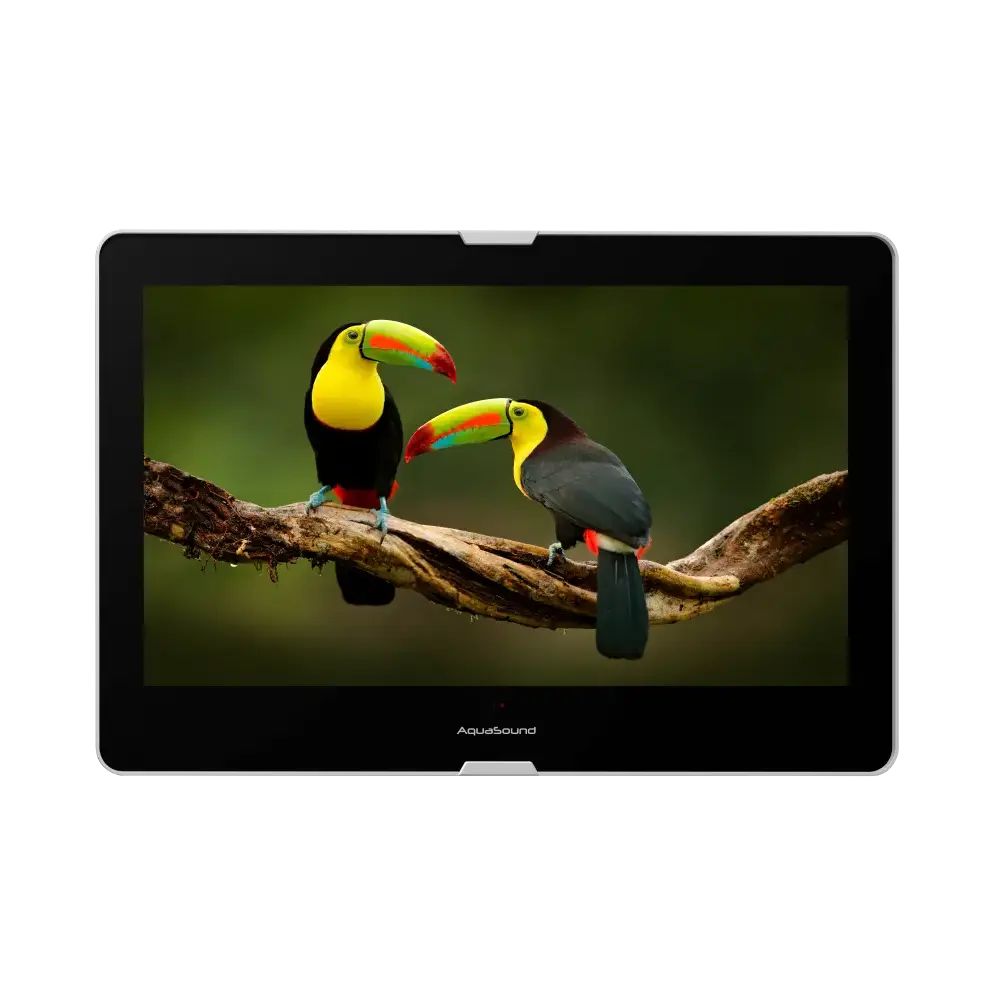
Parts overview
The components supplied vary according to the type of Bathroom TV.
Built-in Bathroom TV
- Bathroom TV
- Mediabox
- Backbox
- Adaptor
- Remote control
Surface mount Bathroom TV
- Bathroom TV
- Mediabox
- VESA mount
- Adaptor
- Remote control
General installation tips
The AquaSound Bathroom TV is available as a built-in version that is built into the wall, as well as a surface version that comes with a VESA bracket. Please note that a surface mounted TV cannot be built in without the backbox and vice versa.
The Bathroom TV comes with a so-called Mediabox. This is the computer of the Bathroom TV and is connected by a 150 cm long cable. This Mediabox can simply be placed in the backbox of the build-in version. When surface mounting the Bathroom TV, the Mediabox should be placed in a place where it will not get wet.
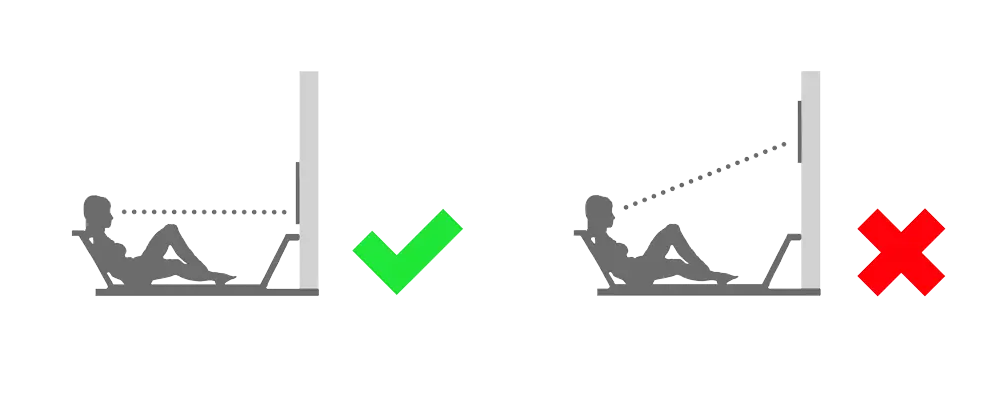
CAUTION! When building in the TV, the viewing angle of the display must be taken into account. Make sure that the TV is not mounted too high.
CAUTION! The cable between the TV and the Mediabox comes with a connector of about 50mm wide. Because of this, this cable cannot be pulled through normal electrical cables, but only through feed-through ducts. The minimum size of the wall duct that will be needed is 55 x 18 mm.
TIP! Before installing the Bathroom TV, think about the connections to the Mediabox. More information below.
Before placing the TV, it is wise to immediately pull the right cables to the location where the Mediabox will be placed. An absolute minimum is the cable from the adapter.
It is advisable to also run an internet cable to ensure extra stability for the smart functionality of the Bathroom TV. Optionally, the TV can be equipped with a coaxial connection for digital television reception.
If it is not possible to connect an internet cable to the Mediabox, then a good WiFi reception must be ensured at the place where the Mediabox will be installed.
Mounting with the Backbox
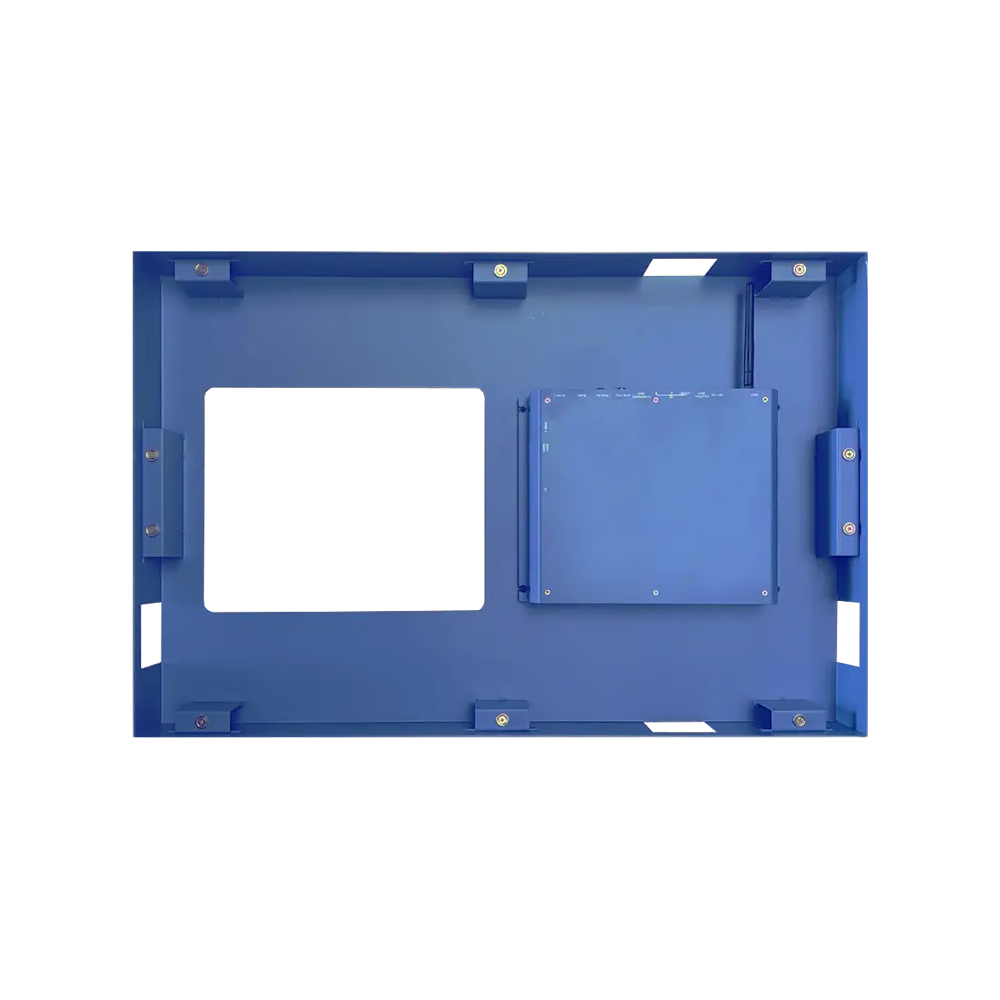
The outer dimensions of the Backbox are 665 x 447 mm, with a depth of 76 mm. Make a cutout in the wall of the same size. Screw the Backbox to the wall on both sides. The front of the Backbox should fall flush with the front of the tiles/finished wall.
The datasheet with dimensions is also available in PDF format. Click here!
There is room in four places for an optional feed-through, which can be used for the cable to the Mediabox. But it is recommended to simply mount the Mediabox in the Backbox.
Placing the TV in the Backbox is self-evident.
1. Connect the internet cable to the Mediabox. (Optional)
2. Connect the coax to the Mediabox. (Optional)
3. Connect the DC Adapter to the Mediabox.
4. Connect the cable between the TV and the Mediabox.
5. Use a screwdriver to secure this cable.
6. Place the TV in the Backbox.
7. The magnets in the Backbox will ensure that the Bathroom TV stays firmly in place.
Mounting with the VESA bracket
Mounting the VESA bracket is easy. Take the bracket apart and mount the right parts on the wall and behind the TV. Then hook the TV part on the wall part and screw it down.
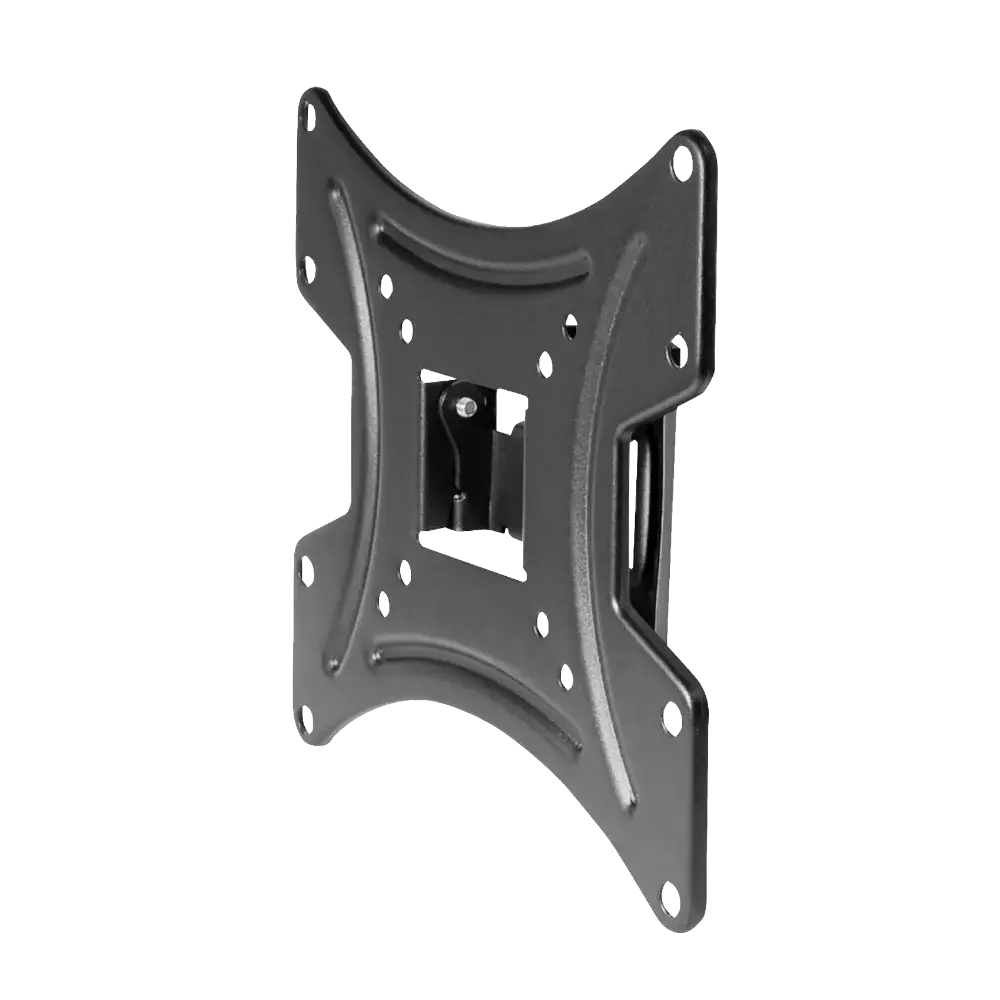
The included mounting materials are intended for mounting on solid masonry or concrete. Appropriate measures should be taken with other walls, e.g. of hollow bricks, plasterboard or lightweight wall constructions.
TIP! Behind the TV and next to the VESA bracket, the feed-through tube can be placed so that the cable can be neatly concealed.
CAUTION! When installing the Mediabox, bear in mind that it must be placed in a place where no water can get in. The cable length is a limiting factor here.
Set up for use
When the TV is switched on for the first time, it will start a configuration in which the TV can be set up easily. Here you can connect to the home network. The channels can also be set. Below, we describe the three most common methods.
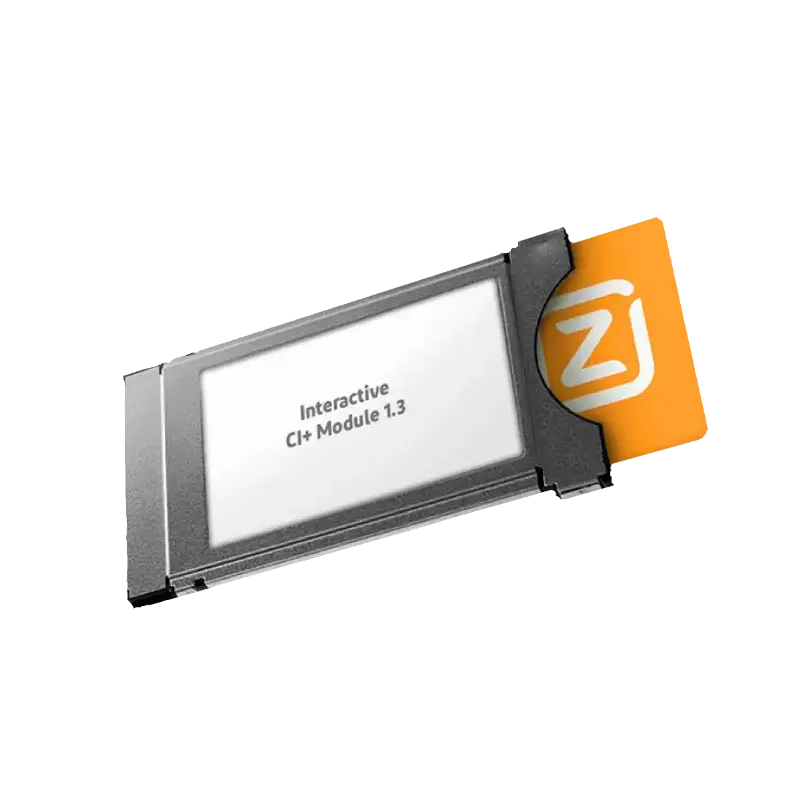
When using digital DVB television, in some cases a CI+ module with a smart card must first be obtained from the provider.
A. DVB-C setup: Ziggo Cable TV
At Ziggo, you can receive TV both with and without a CI+ module. Please note that without a CI+ module, fewer channels are available. The reception settings are also different.The reception settings can be found below. These data can be entered in the settings.
More information about Ziggo Cable TV DVB settings: Click here!
More information about Ziggo Cable TV with a CI+ module: Click here!B. DVB-T2 setup: KPN Digitenne
For KPN Digitenne, a CI+ module is required. Without a CI+ module, only the public broadcasters can be received.When using KPN Digitenne, the TV will search for channels by itself, provided there is a good signal on the antenna. This search can be started from the settings.
More information about KPN Digitenne with a CI+ module: Click here!
C. Setting DVB-S2: CanalDigitaal Satellite TV
With CanalDigitaal, a CI+ module is required. Without a CI+ module you can still watch unencrypted foreign channels, but not Dutch channels.When using CanalDigitaal Satelliet TV the TV will search for channels by itself, provided there is a good signal on the dish. This search can be started from the settings.
More information about CanalDigitaal Satelliet TV with a CI+ module: Click here!
Lastly
With this your Bathroom TV is completely ready for use! In case there are any problems that you cannot solve with this manual, please do not hesitate to contact us.
If you are satisfied with our products, we would like to invite you to leave a review on Google. Press here to go to the review page.