Contents
For installers
Installing Speakers
Installing WiFi Audio Amplifier
For users
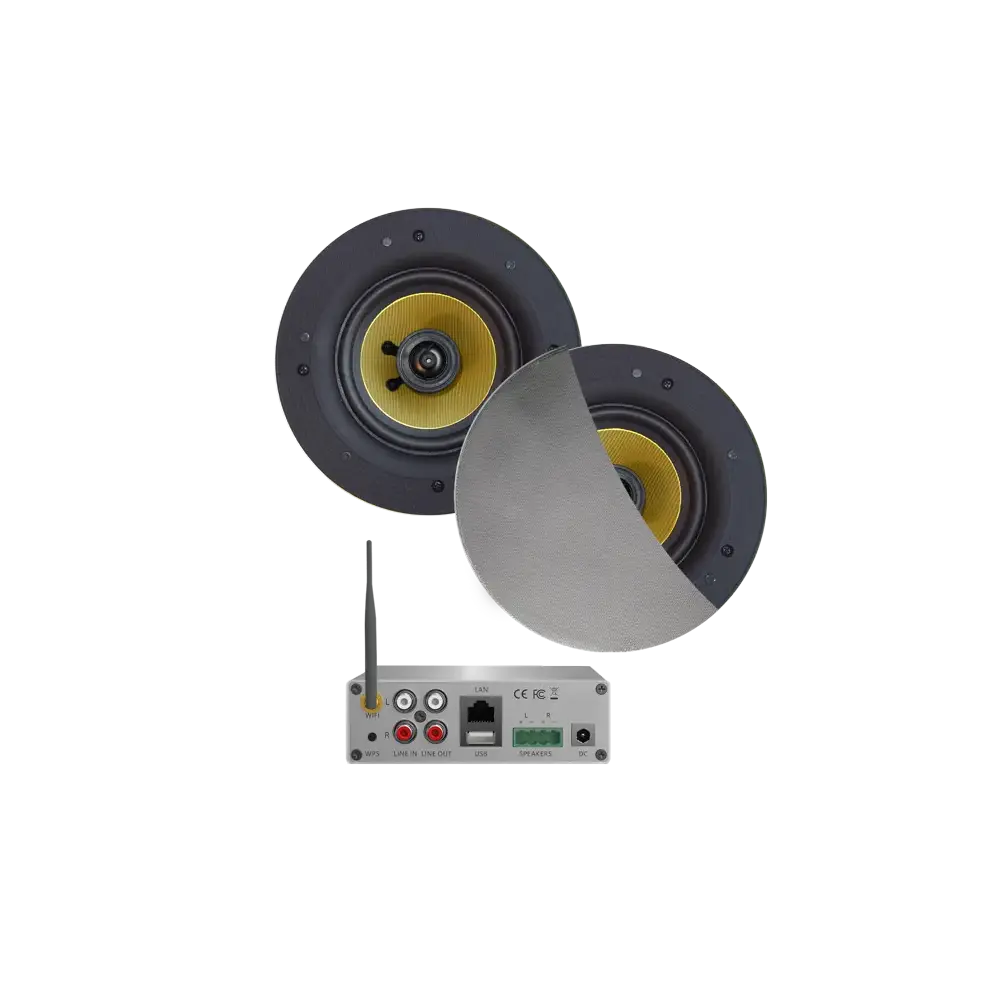
Parts overview
The parts included differ depending on the type of audio system. For example, some sets do not include the speakers.
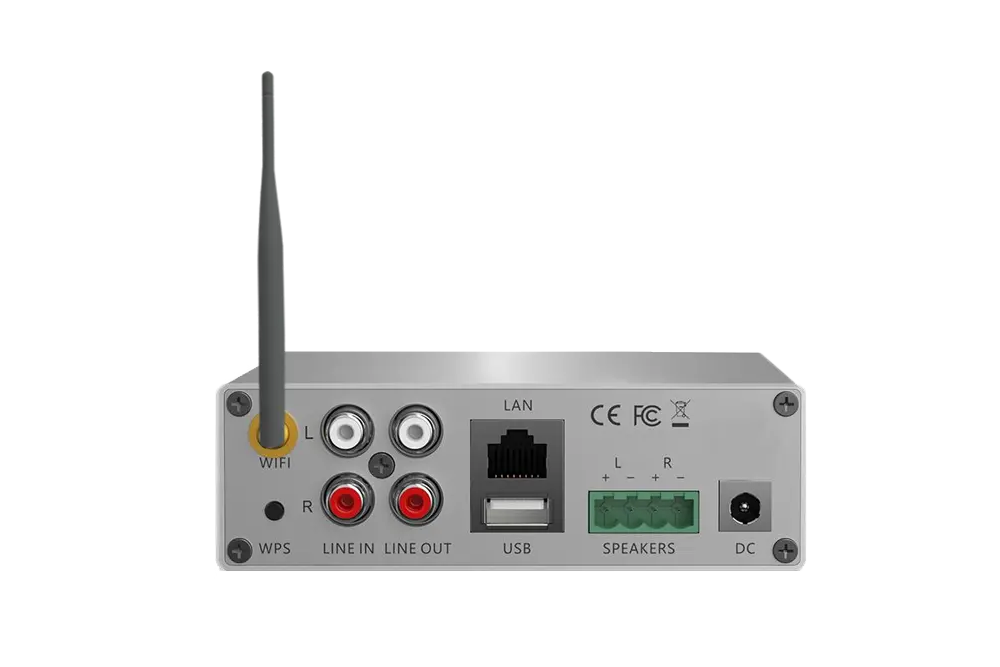
WiFi-Audio Amplifier
- WMA-type WiFi Audio Amplifier
- DC Adaptor
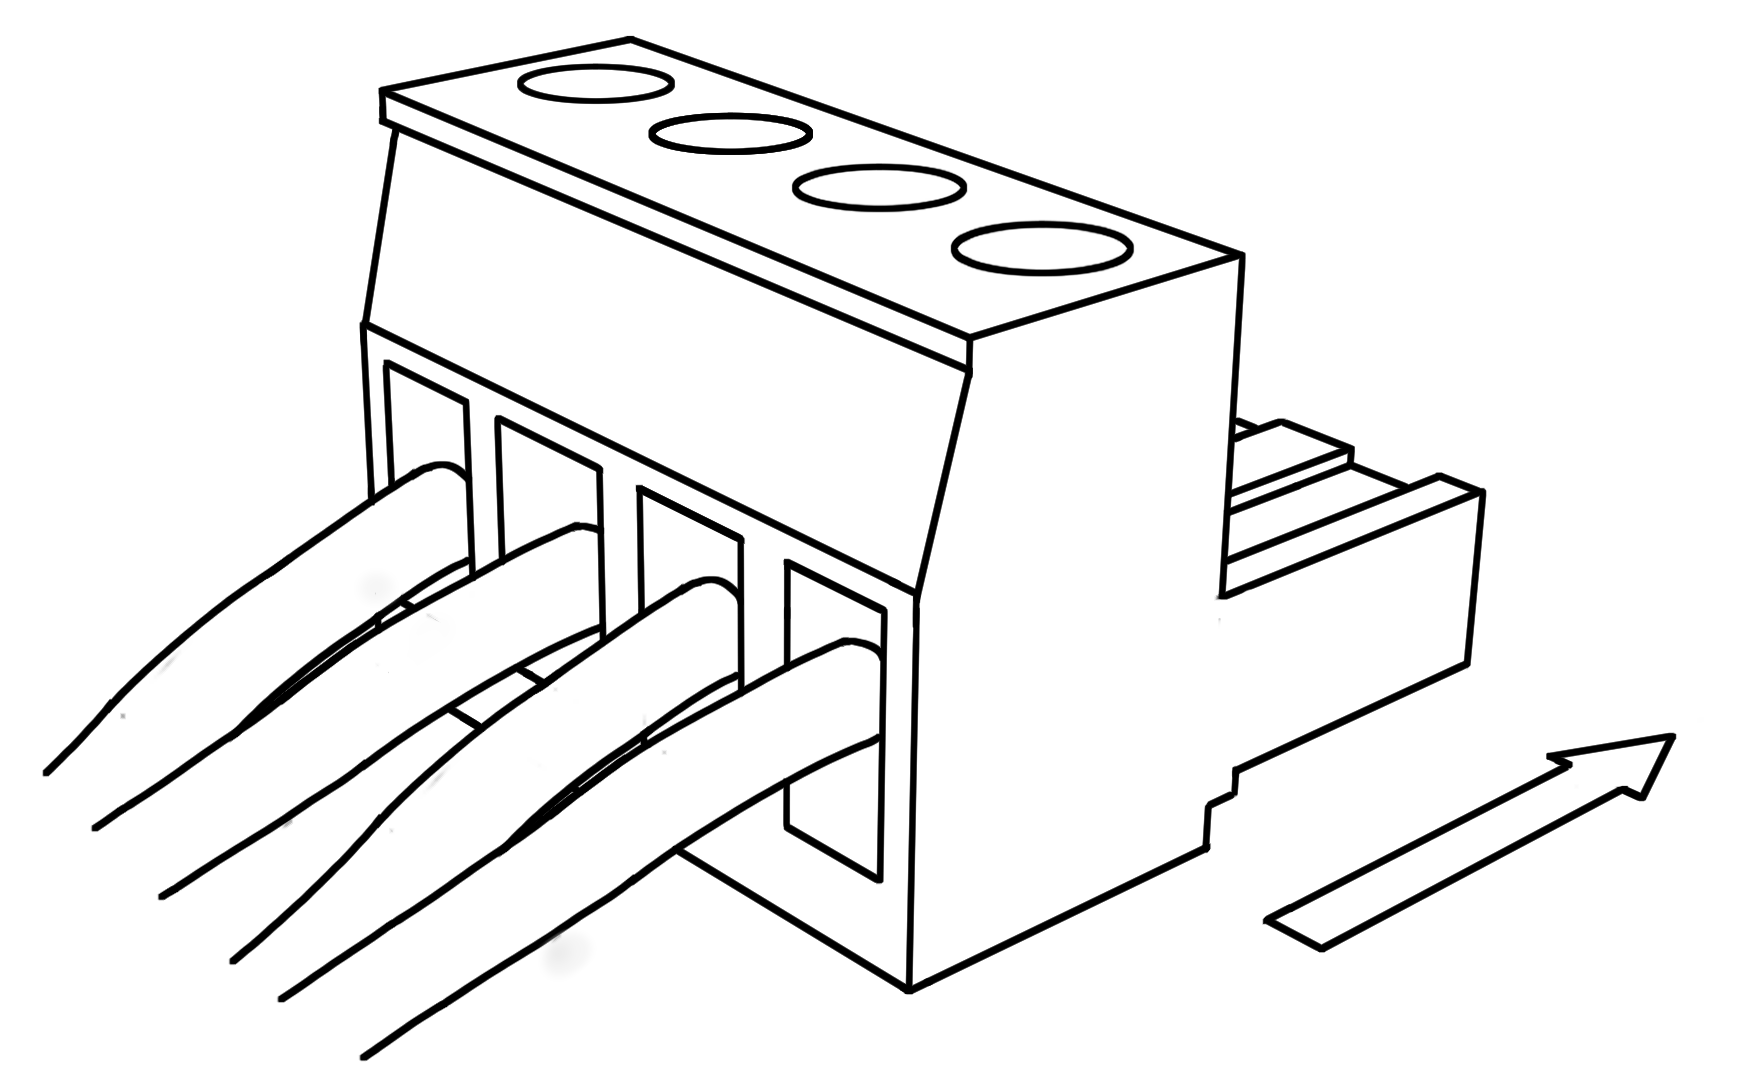
- Terminal Block Speaker Cables
- Antenna (WMA50/70)
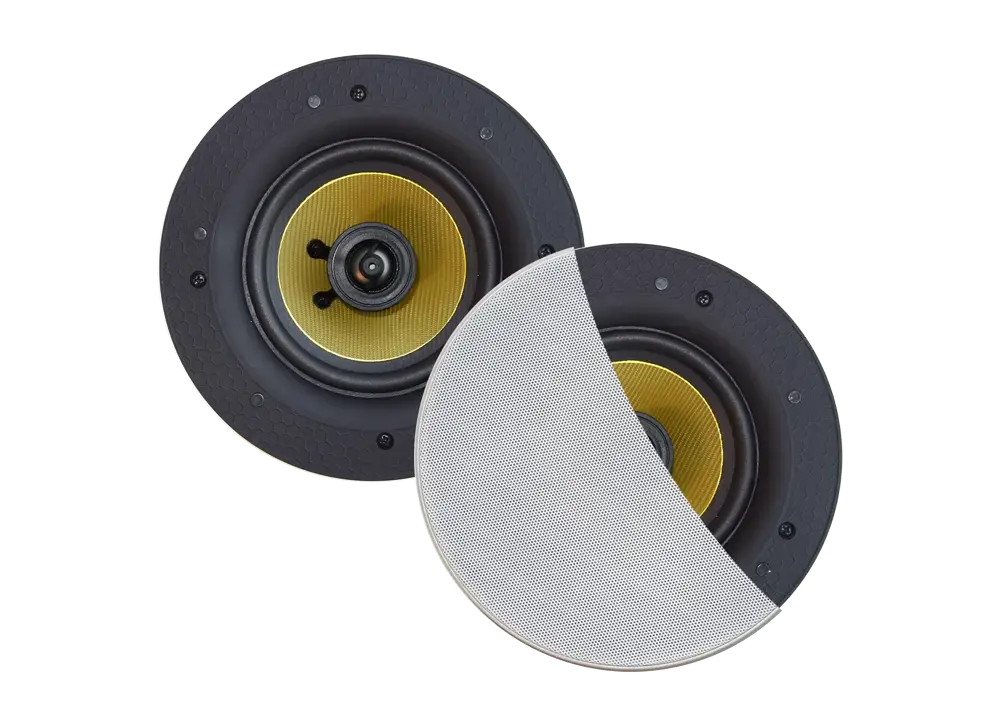
Speaker set
- Rumba, Samba, Zumba or Twist Speakers
- Speaker wire
- Speaker template hole size
Installing Speakers
There are a few important points to bear in mind when installing WiFi audio system speakers.
- Make sure that the speaker has enough space behind the ceiling.
- The WiFi-Audio amplifier is placed behind the ceiling.
- There must be a LAN cable behind the ceiling in the place where the speakers and WiFi Audio amplifier will be placed.
- When a LAN cable is not possible, a good WiFi reception should be present.
- An electrical outlet must be present behind the ceiling.
When these requirements are met, the speakers can be installed in the ceiling without any problems.
- Use the template to determine the hole in the ceiling and saw/cut it out.
- Before placing the speaker, connect the WiFi-Audio amplifier and place it through the speaker hole on top of the ceiling. See the next section for details.
- Connect the speaker wire to the speaker.
- Place the speaker.
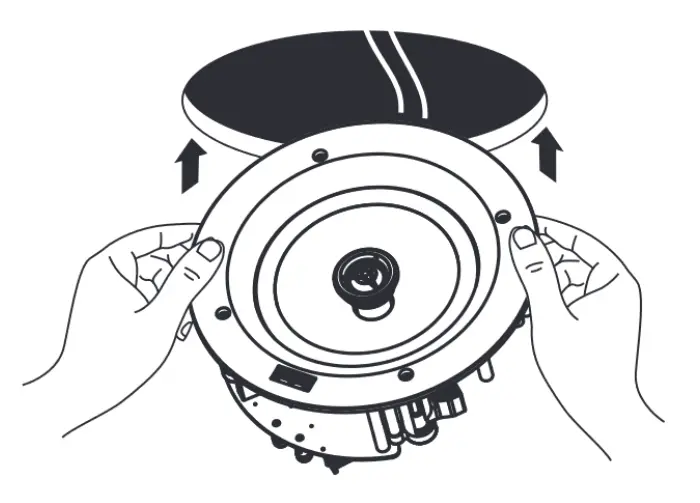
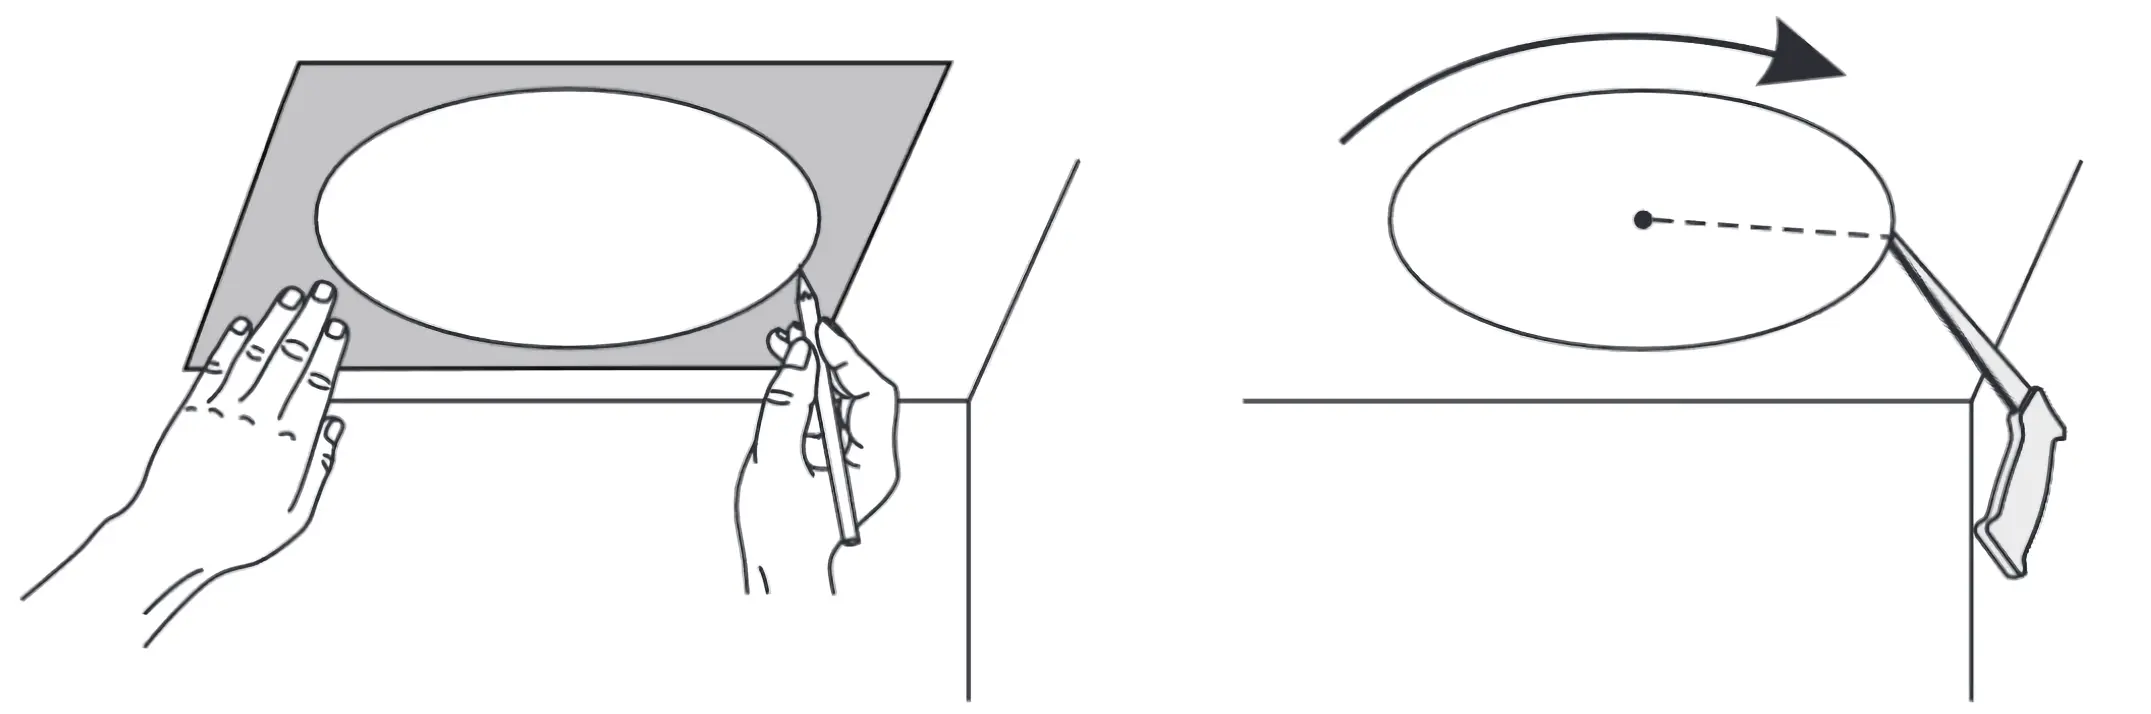
Rumba and Twist speakers
The speakers are equipped with a clamping system. Open the clamps and put them through the hole. The speaker will lock itself in place.
Samba and Zumba speakers
Place the speaker in the hole. Using a screwdriver, tighten the 4 screws. This will open up the hooks on the back and secure the speaker in place.
CAUTION! Use a screwdriver, not a screw machine.
Installing WiFi Audio Amplifier
The WiFi audio amplifier is usually placed on top of the ceiling. Because of this, there are a few important points that have to be taken into account.
- There must be a LAN cable behind the ceiling in the place where the WiFi Audio amplifier will be placed.
- When a LAN cable is not possible, a good WiFi reception should be present.
- An electrical outlet must be present behind the ceiling.
CAUTION! When choosing to connect the amplifier via WiFi, a good WiFi signal is an absolute must. Install a WiFi access point near the amplifier or get advice from your provider.
We recommend a LAN cable over a WiFi connection, for added stability to your listening experience.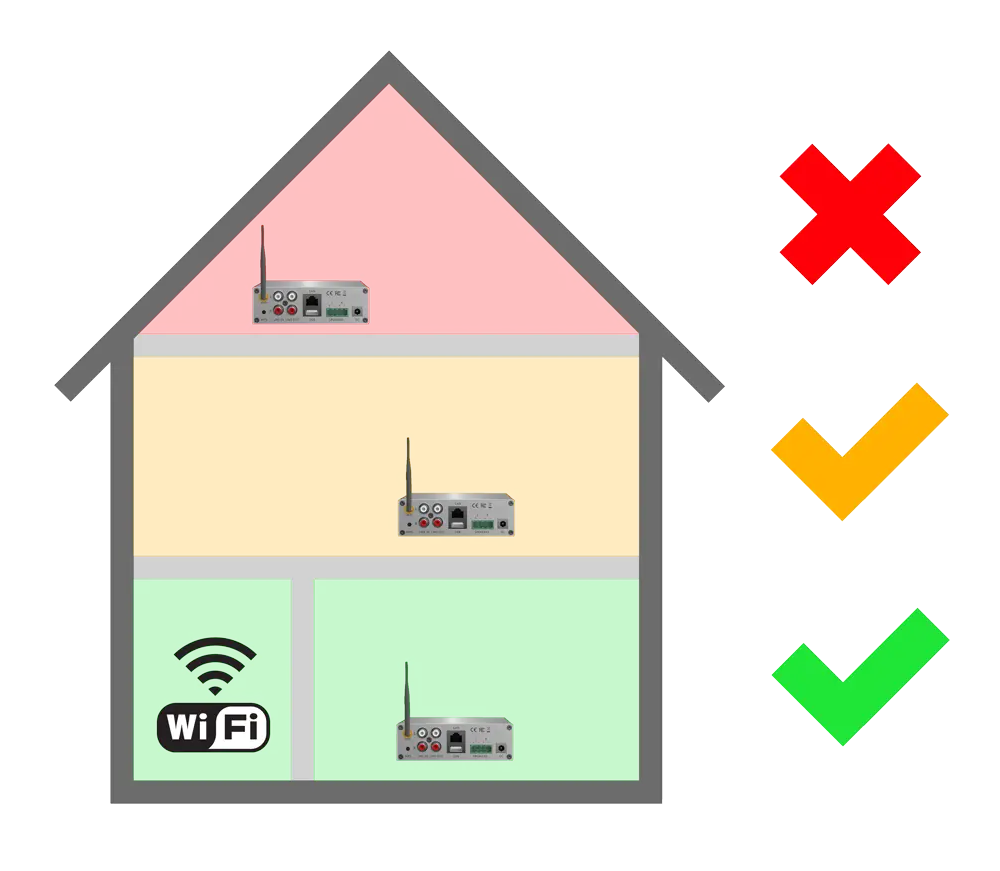
Below, we describe the step-by-step plan for connecting the cables to the amplifier.
1. Cut the speaker cable to size and strip the ends.
2. Screw it into the terminal block. Red in plus (+), black in minus (-).
3. Insert the terminal block into the amplifier.
4. Connect the LAN cable, if available.
5. Screw the antenna, if present.
6. If an AquaSound TV is present, it can now be connected to the AUX-IN / LINE-IN.
7. Connect the adapter and plug it into the power socket.
After this, the WiFi-Audio amplifier can be placed on top of the ceiling through the speaker hole.
Set up for use
The inclusion of the WiFi-Audio amplifier in the WiFi home network is done using the app. Follow the steps in the app.
The SmartSonix app, WiiM app, Legacy Player app or 4Stream app are available for Android and iOS devices. Find one of these in the store.
CAUTION! Turn off the 4G/5G data connection on your smartphone while connecting a WiFi Audio amplifier to the WiFi home network.
TIP! When the WiFi Audio amplifier is connected to a LAN cable, it doesn't need to be included in the WiFi home network, it is already connected. The app will find it immediately.
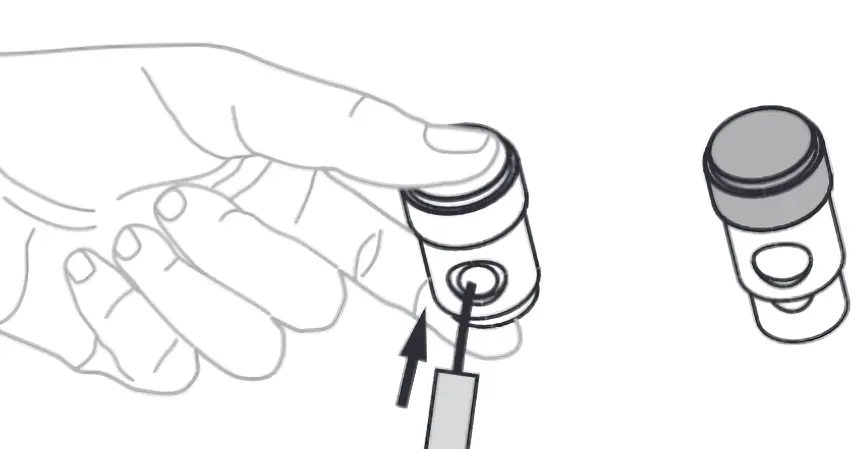
TIP! If you have problems including the WiFi-Audio amplifier in the WiFi home network, it might help to reset the amplifier. Below we explain how this works.
WMA30 At the back of the AUX-IN jack is the reset button. Use a toothpick to reach it. Press this button twice and the amplifier will indicate through the speakers that it is in Setup Mode.
WMA50 / WMA70 Push the WPS button twice. After that the amplifier will tell you through the speakers that it is in Setup Mode.
Lastly
Your WiFi Audio System is now ready for hours of listening pleasure! In case there are any problems you cannot solve with this manual, please do not hesitate to contact us.
If you are satisfied with our products, we would like to invite you to leave a review on Google. Press here to go to the review page.